September 30, 2024
How To Use A Floor Scrubber Machine In A Commercial Setting
Maintaining clean and polished floors in your industrial or commercial space can be challenging, but knowing how to use a floor scrubber machine can keep your space clean and safe.
It’s not just learning how to use a floor scrubber but picking the right machine based on the type of floor, size of the space, and cleaning needs that will ensure your success. In this guide, we’ll talk through the types of floor scrubbers available, how to operate a floor scrubber, and tips and tricks to get your space extra clean and your machine performing at its best.
Discover top-rated commercial floor scrubber machines for your business needs - no matter the specs of the space!
There are three main types of floor scrubbers available in the market today:

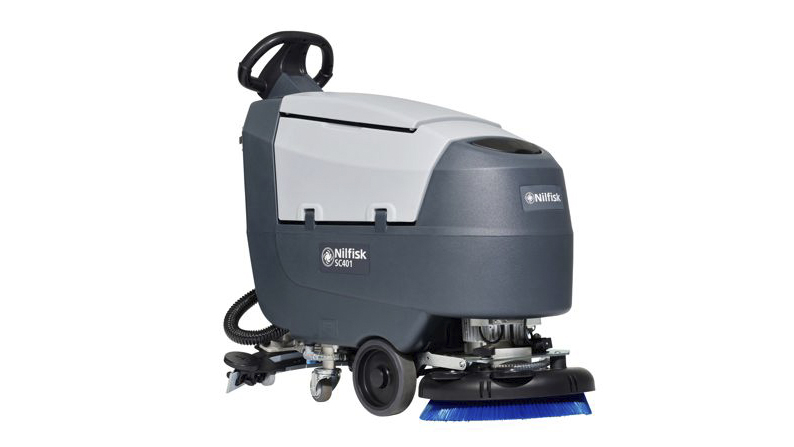
Walk-behind floor scrubbers
They offer cleaning power and maneuverability for tight spaces at a more affordable price. They’re great for small to medium-sized spaces like offices or retail stores

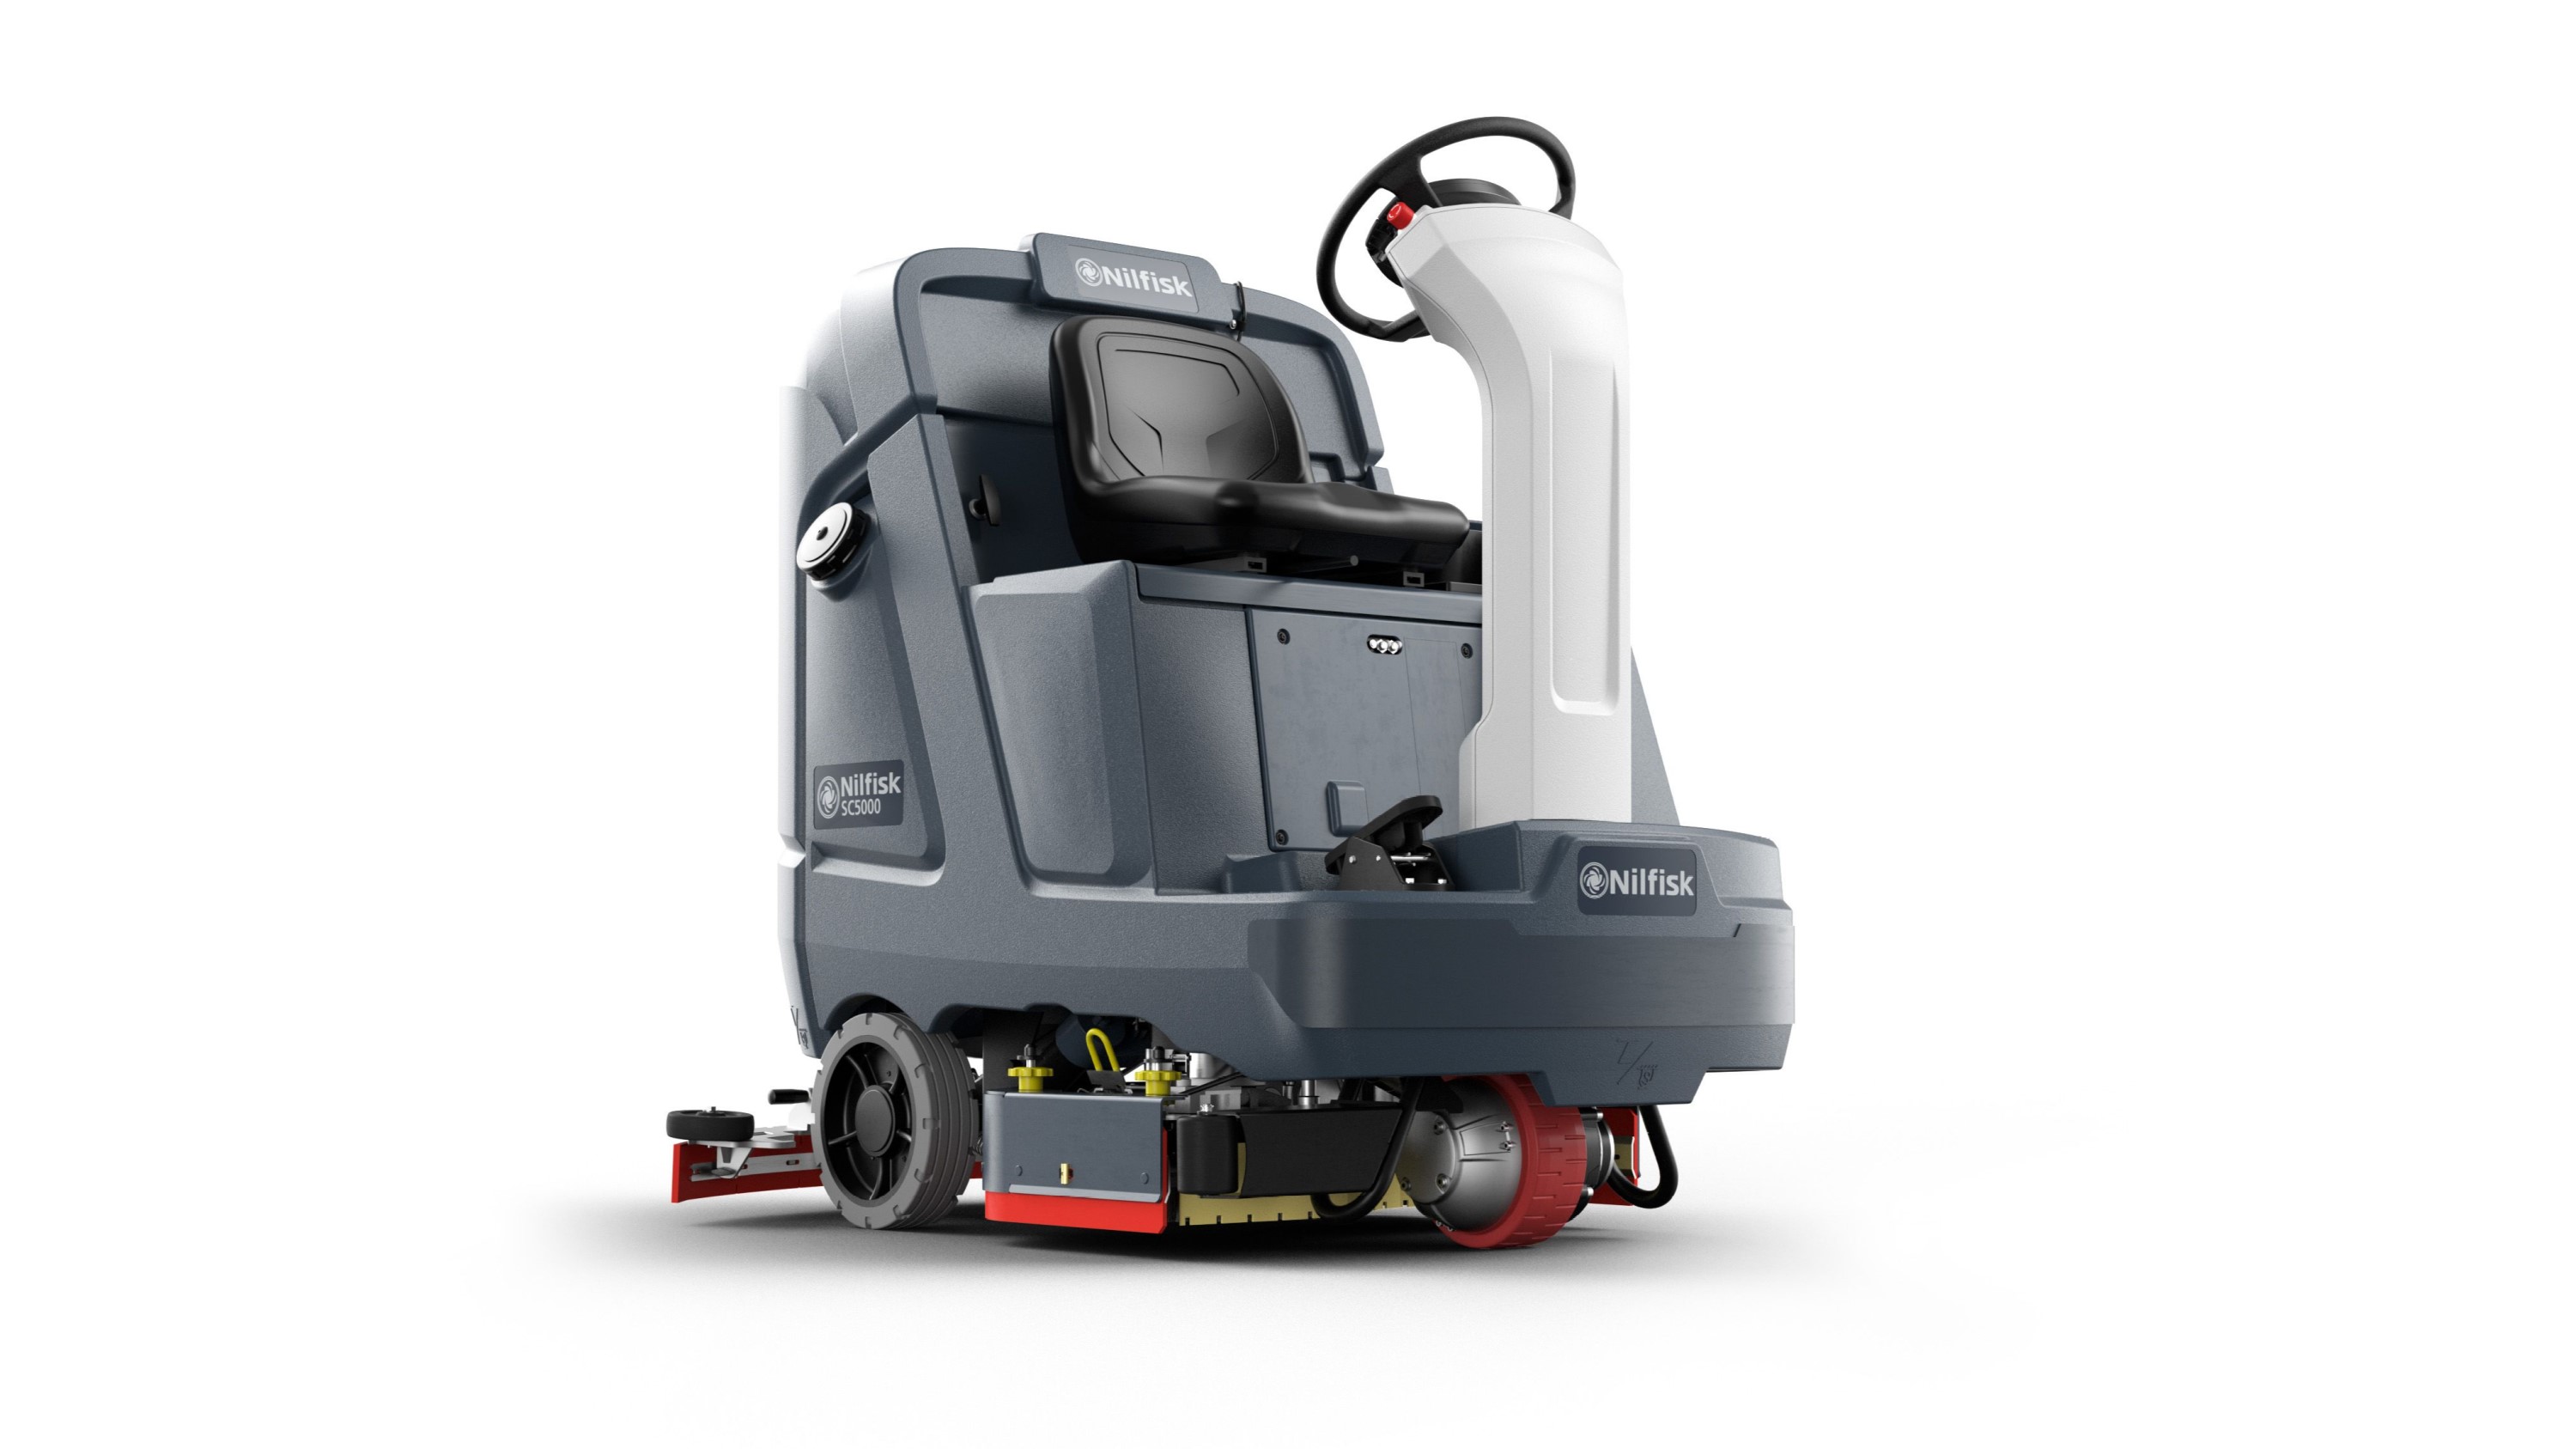
Ride-on or stand-on floor scrubbers
They allow operators to cover more ground quickly while reducing fatigue. They’re great for large areas like warehouses or airports.

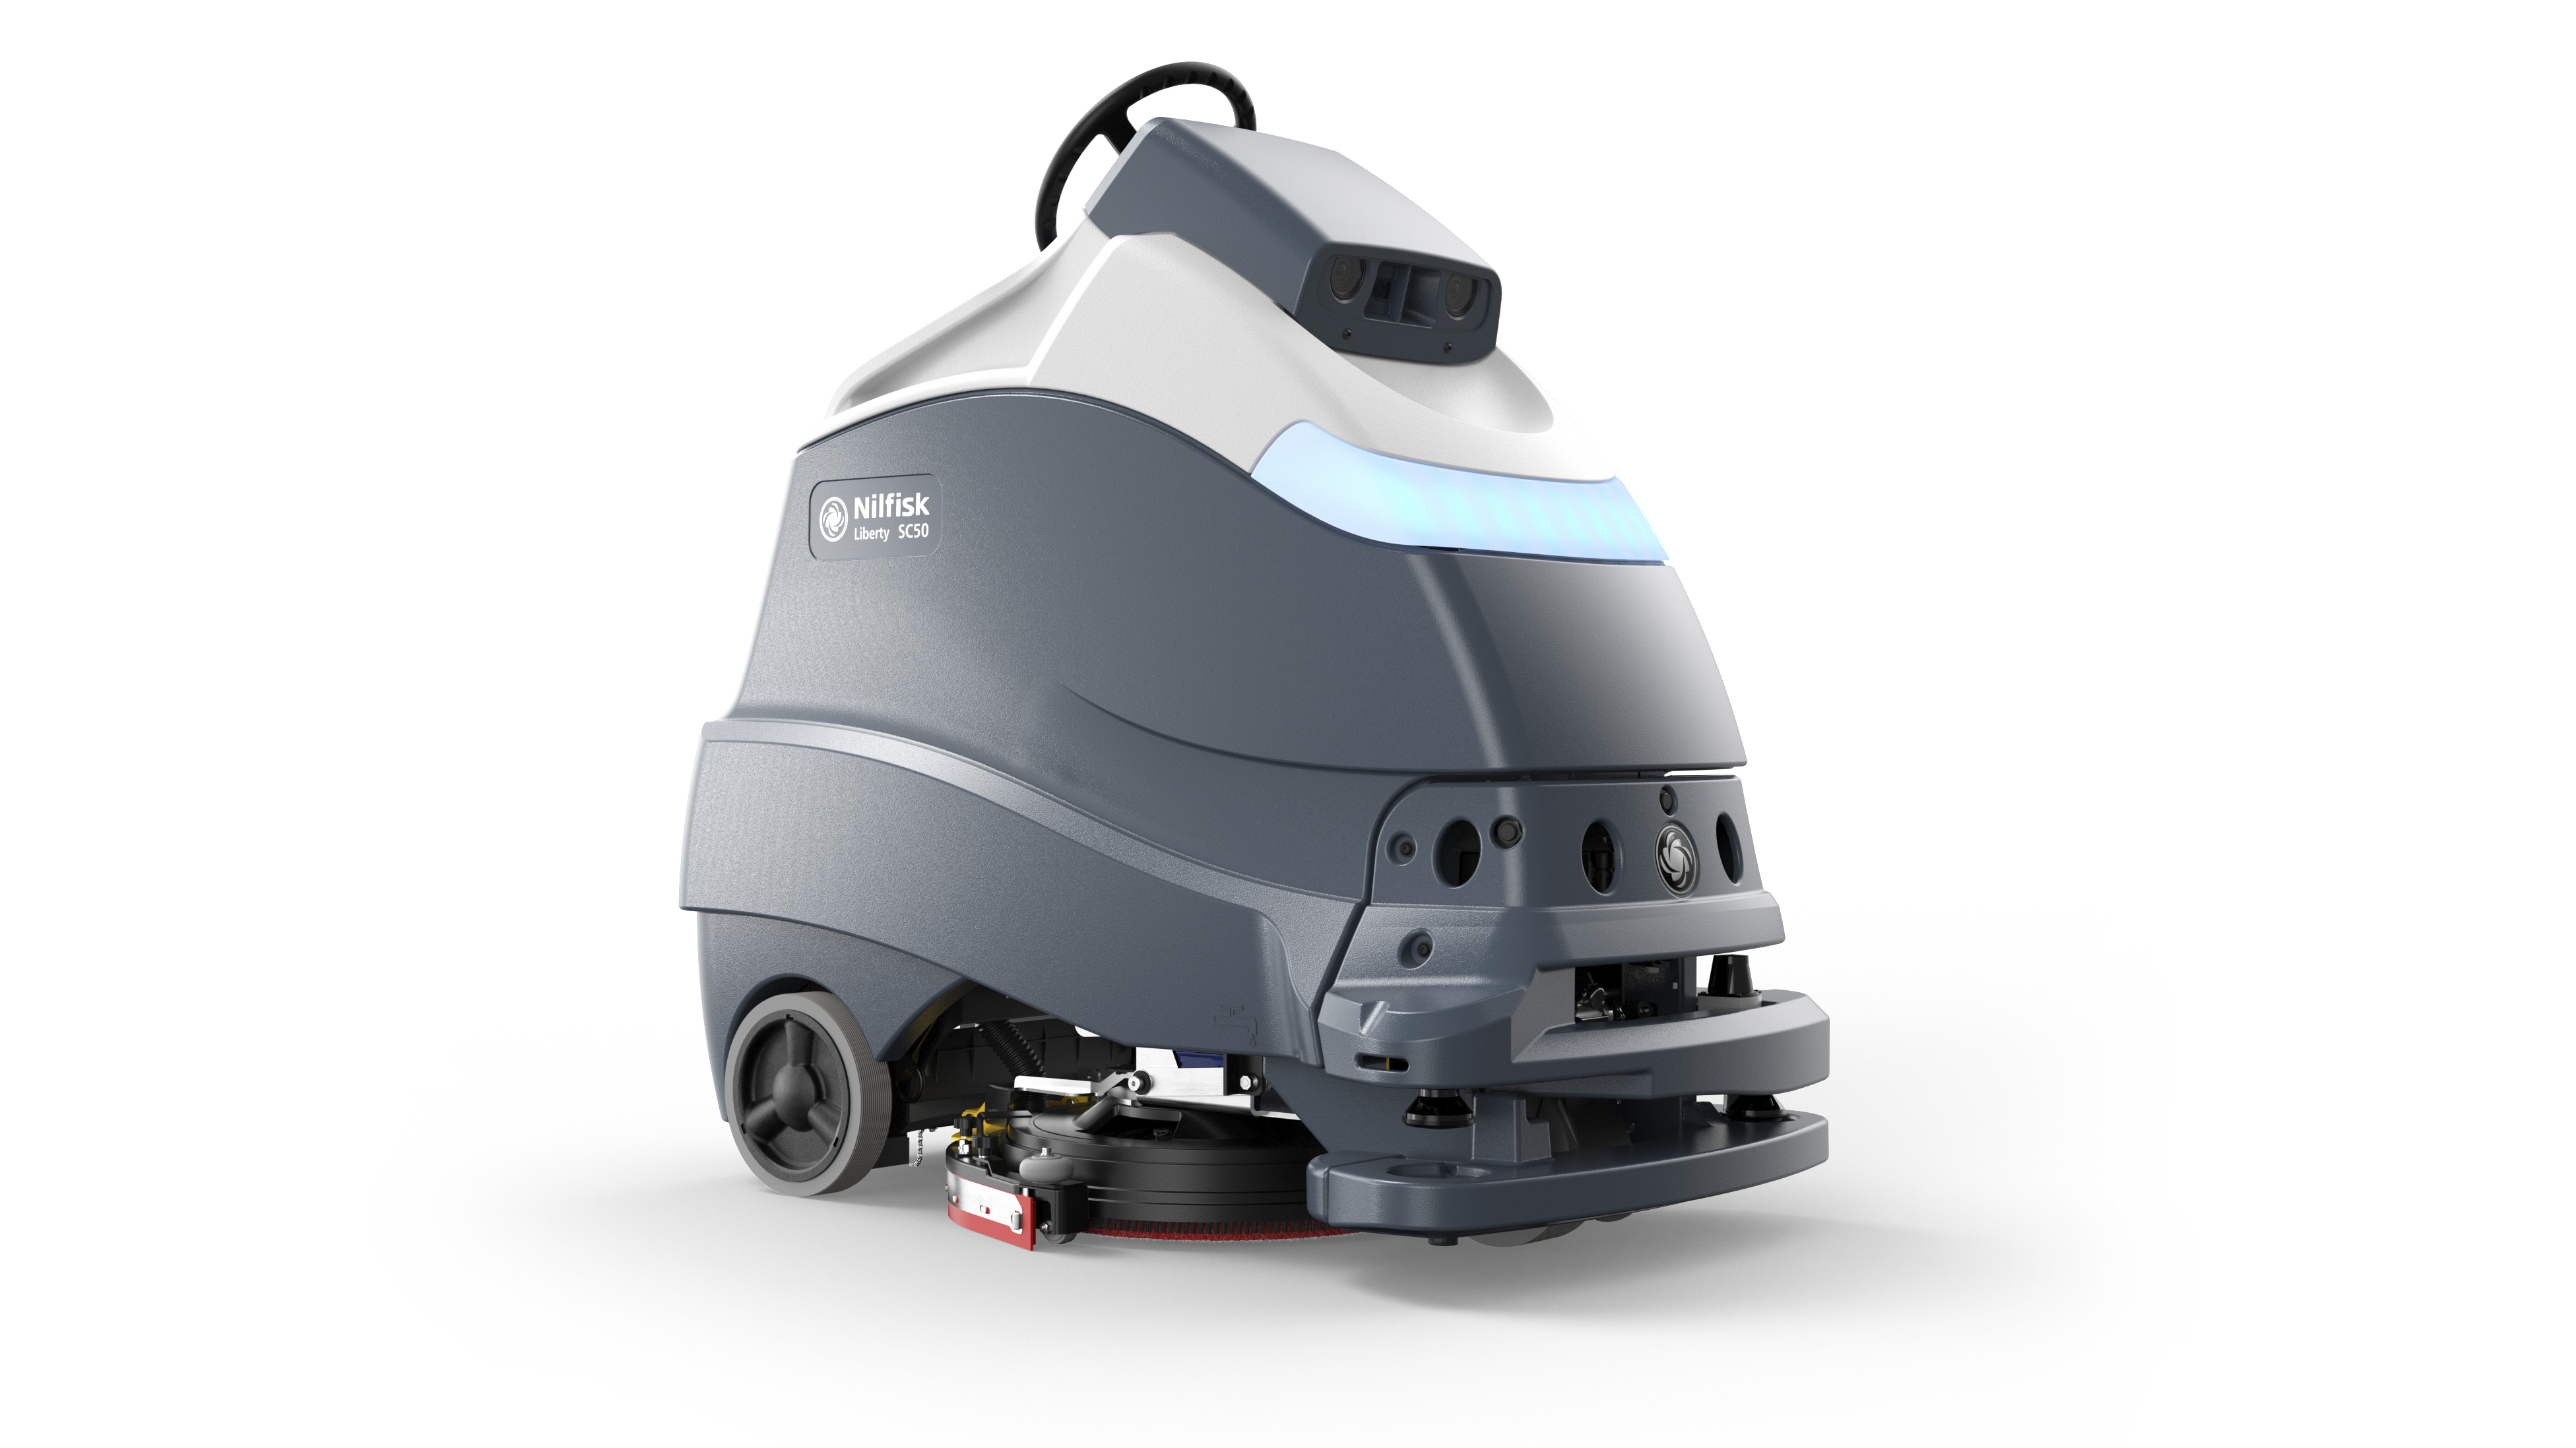
Robotic or autonomous floor scrubbers
Automatic floor scrubbers are ideal for larger and more open spaces requiring little human supervision, like large shopping malls that need to be cleaned overnight.
When comparing the three types of floor scrubbers, the best option for you will come down to the size of the facility, cleaning requirements, and surface type.
How To Operate A Floor Scrubber
While the exact steps of how to use a floor machine will depend on the type and model of your scrubber, there are some basic operational steps that can be applied to most machines.
Operating a floor scrubber begins with ensuring the area is debris-free and then properly setting up your machine. This includes familiarizing yourself with the controls like the speed settings, water flow, and brush settings; disconnecting the charger; and filling the tank with the appropriate mix of water and cleaning solution.
From there, you’ll want to check that the squeegee and brushes are properly in place and then power up the machine, selecting the appropriate cleaning mode before beginning. Once your cleaning is done, dismantle and clean it thoroughly before placing it on the charger for next time. This ensures your machine runs effectively for years to come.
Let’s discuss operating a floor scrubber in more detail, using Nilfisk’s SC550 walk-behind floor scrubber as our example machine.
Remove Debris From Area Being Cleaned
To set your floor scrubber up for success and provide the most thorough clean, remove any large, loose debris from the area before beginning. Clearing debris in advance helps to prevent clogging and damage to the machine. Depending on your space and the model of your floor scrubber, you may need to use a broom, vacuum, or a separate sweeper entirely for this step. Some floor scrubbers, like the CS7010, have built-in sweepers to eliminate the need for sweeping.
Disconnect The Floor Scrubber’s Charger
Once the space is primed and cleared of debris, make sure the floor scrubber’s battery is fully charged before safely disconnecting the charger from the wall. Most machines will have a dedicated spot for you to store the cord so it’s tucked away while the machine is operating. As with any piece of electrical equipment, always follow your machine’s safety guidelines to ensure proper use and avoid harm to yourself and others.
Explore the most innovative, high-quality floor cleaning solutions with Nilfisk, your trusted partner in floor care.
Fill The Solution Tank With Water And Detergent
With the charging cord unplugged and tucked away, check that the machine is turned off before opening the solution tank and filling it with the appropriate ratio of water and low-foam detergent. Always refer to the manufacturer’s guidelines when it comes to the cleaning solution and concentration to use for your floor type.
If you have a Nilfisk EcoFlex model, the stress of getting that ratio correct is eliminated by real-time precision matching of the detergent strength to the dirt level of the floor. The machine does all of the mixing for you at the brush deck utilizing separate water and detergent tanks, all while reducing water consumption.
Install Squeegee And Pads Or Brushes
Now that the solution tank is filled, check the squeegee blades before installing for any worn edges to prevent streaks or incomplete drying. Adjust the tilt of the squeegee attachment if needed using the tilt knobs to maximize squeegee performance. Whether you have cylindrical brushes or a dish brush system, inspect the brushes and floor pads for signs of wear and tear before installing them to ensure even cleaning. Depending on how often you use your machine, you’ll need to replace the brushes, pads, and squeegee occasionally to maintain the best cleaning results.
Explore our selection of ride-on floor scrubbers with built-in smart technology to make cleaning efficient.
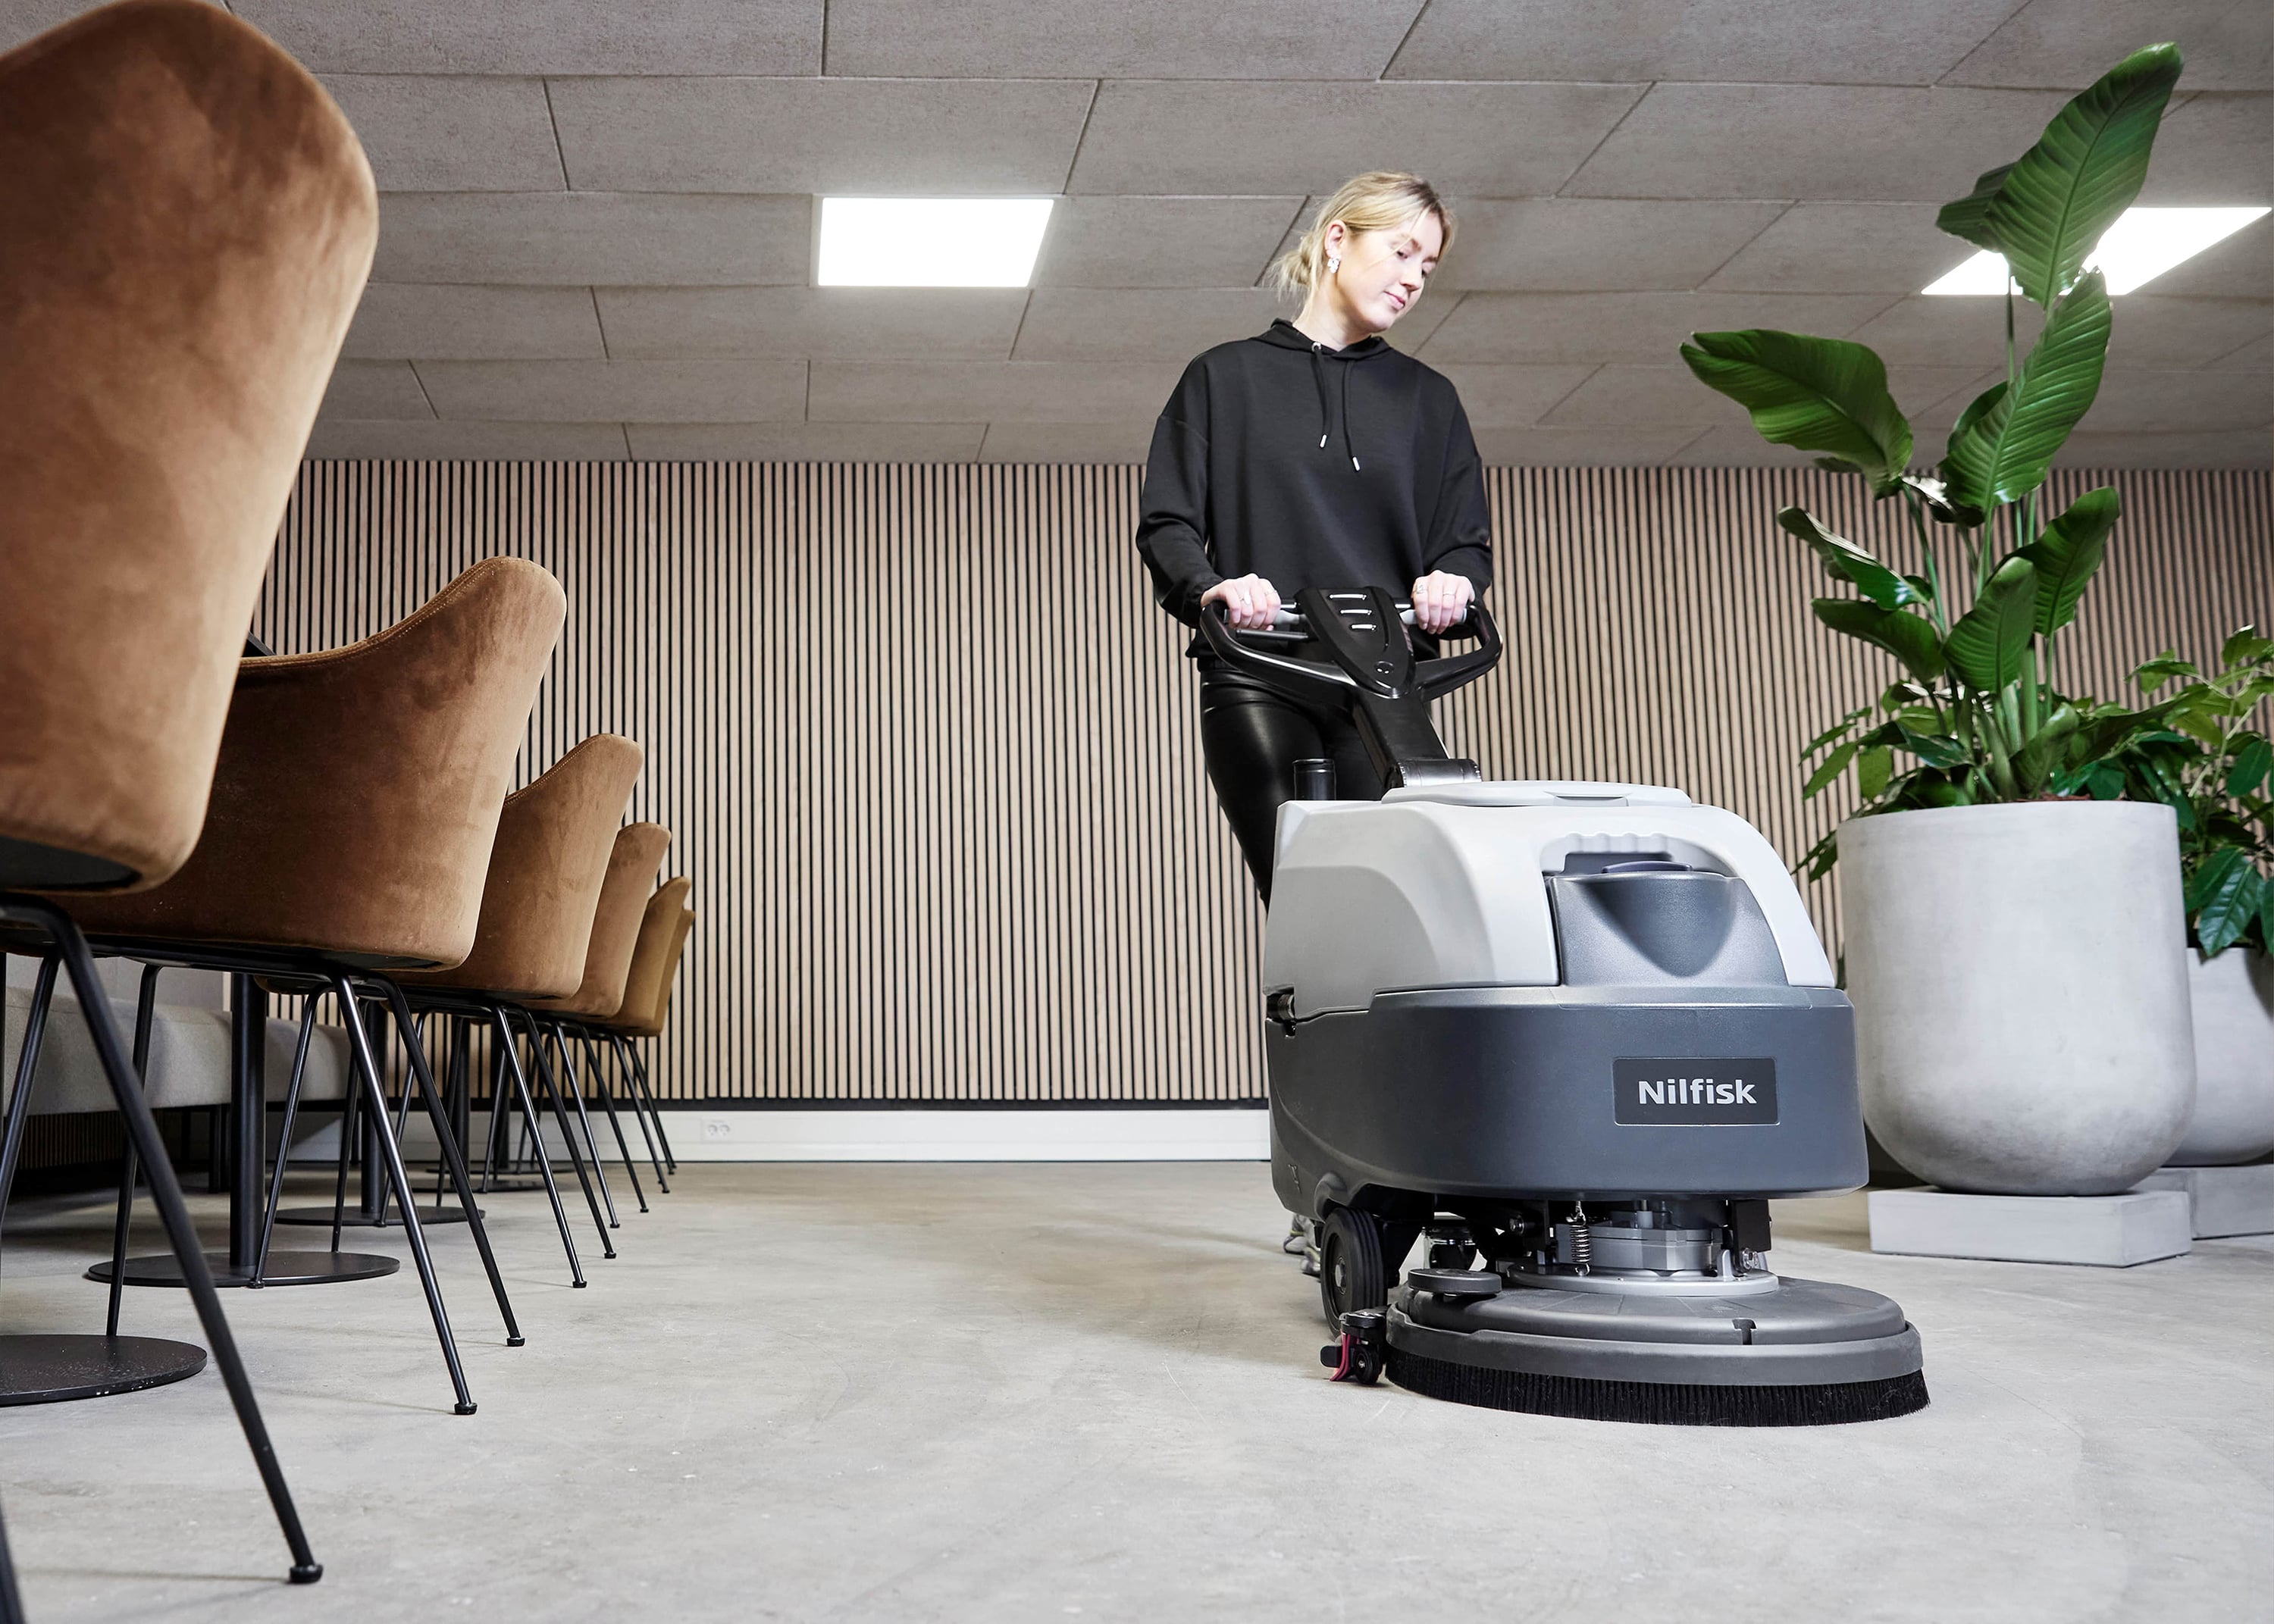
Push Or Drive The Floor Scrubber To Clean The Area
To start cleaning the area, insert the key, power on the machine, and disengage the emergency stop. Whether you have a push-behind or a ride-on model, you should be able to lower the cleaning deck and squeegee either manually or with a button, and then you’re ready to activate cleaning.
For the most efficient clean, start from the farthest point of the room and move in straight, slightly overlapping lines toward the exit at a consistent pace. Keep an eye on the water level and the scrub pressure and adjust the settings as needed for optimal cleaning performance. Remember to put out “wet floor” signs.
Dismantle And Clean Floor Scrubber After Use
When finished cleaning, stop the machine, raise the squeegee, and release the brushes. You’ll want to clean, inspect, and rotate the brushes regularly for even wear and tear. For cylindrical models, empty the debris hopper and remove the cylindrical brushes, cleaning and inspecting them as well.
Next, remove and clean the squeegee, rotating or replacing worn blades and hanging to dry. Empty and drain the recovery tank, rinsing and allowing the water to drain out. Dump the contents of the debris tray and rinse that clean, too. If you plan to store the machine for a long period of time, empty and rinse the solution tank in addition to the recovery tank so that nothing is left sitting.
Taking the time to follow these maintenance steps after each clean will help extend the lifespan of your floor scrubber and keep it in optimal working condition.
Leave The Recovery Tank Open, And Plug In The Charger
Before you walk away, take two last steps to ensure your machine is primed for next time: leave the recovery tank open, and plug the charger into the wall. Keeping the tank open will allow the receptacles and hoses to air dry, preventing mold and bacteria buildup. The next time you are ready to clean, your machine will be dry and ready to go with a full battery charge.
Check out our wide range of floor scrubber dryers for a safe and sustainable cleaning option suitable for even the most stubborn areas.
Tips On How To Use A Floor Scrubber Machine
When it comes to floor scrubbing, we have a number of helpful tips to help you not only use the machine effectively but also improve its lifespan and get the most thorough clean. These tips range from regular maintenance to using a diamond pad for certain floors. All are important in keeping your machine and floors in great shape.
- Keep the machine clean and dry: Clean the machine after each use, and allow it to air dry in between uses, keeping the recovery tank door open so the internal components can dry.
- Inspect and replace parts regularly: Keep an eye on the brushes, pads, and squeegee, rotating and replacing when they show signs of wear and tear that can affect cleaning quality.
- Purchase wisely: A floor scrubber machine is an investment, so make sure you purchase from a reliable manufacturer with a wide service network for replacement parts and repairs like Nilfisk.
- Double scrub where needed: For extra tough dirt and stains, a double scrub may be required for those stubborn areas.
- Use a chemical portioning system: To ensure you use appropriate cleaning solution levels, consider a machine with an onboard dispensing system or a wall-mounted proportioning system for the right level every time.
- Perform regular maintenance: In addition to rotating and replacing the brushes and squeegee, check the hinges, wheels, and battery regularly, and perform the manufacturer’s suggested maintenance.
- Don’t move too fast: Moving too quickly or not overlapping each cleaning pass can result in missed or not fully cleaned floor areas.
- Use a diamond pad for select floors: Natural stone floors like terrazzo and marble will benefit from a diamond pad for best results and extra polish.
- Utilize available user guides and training mode: Take advantage of your machine’s built-in training mode, user guides, and how-to videos for getting started.
Get A Quote On The Right Nilfisk Floor Scrubber For Your Cleaning Needs
At Nilfisk, we have over a 100 years of delivering innovative cleaning solutions for industrial and commercial customers across the globe. With a large variety of floor scrubber models suited for floor spaces of all sizes and floor types, we’re confident we have the solution you need to keep your floors spotless every time. Plus, with innovative solutions like our EcoFlex system you can save on water and detergent, increasing your bottom line.
Reach out to our sales team today to see how Nilfisk can improve your current floor cleaning system and drive efficiency in your business.

